Stacks of Holiday Cards! Oh My!

by Brenda Schwaab


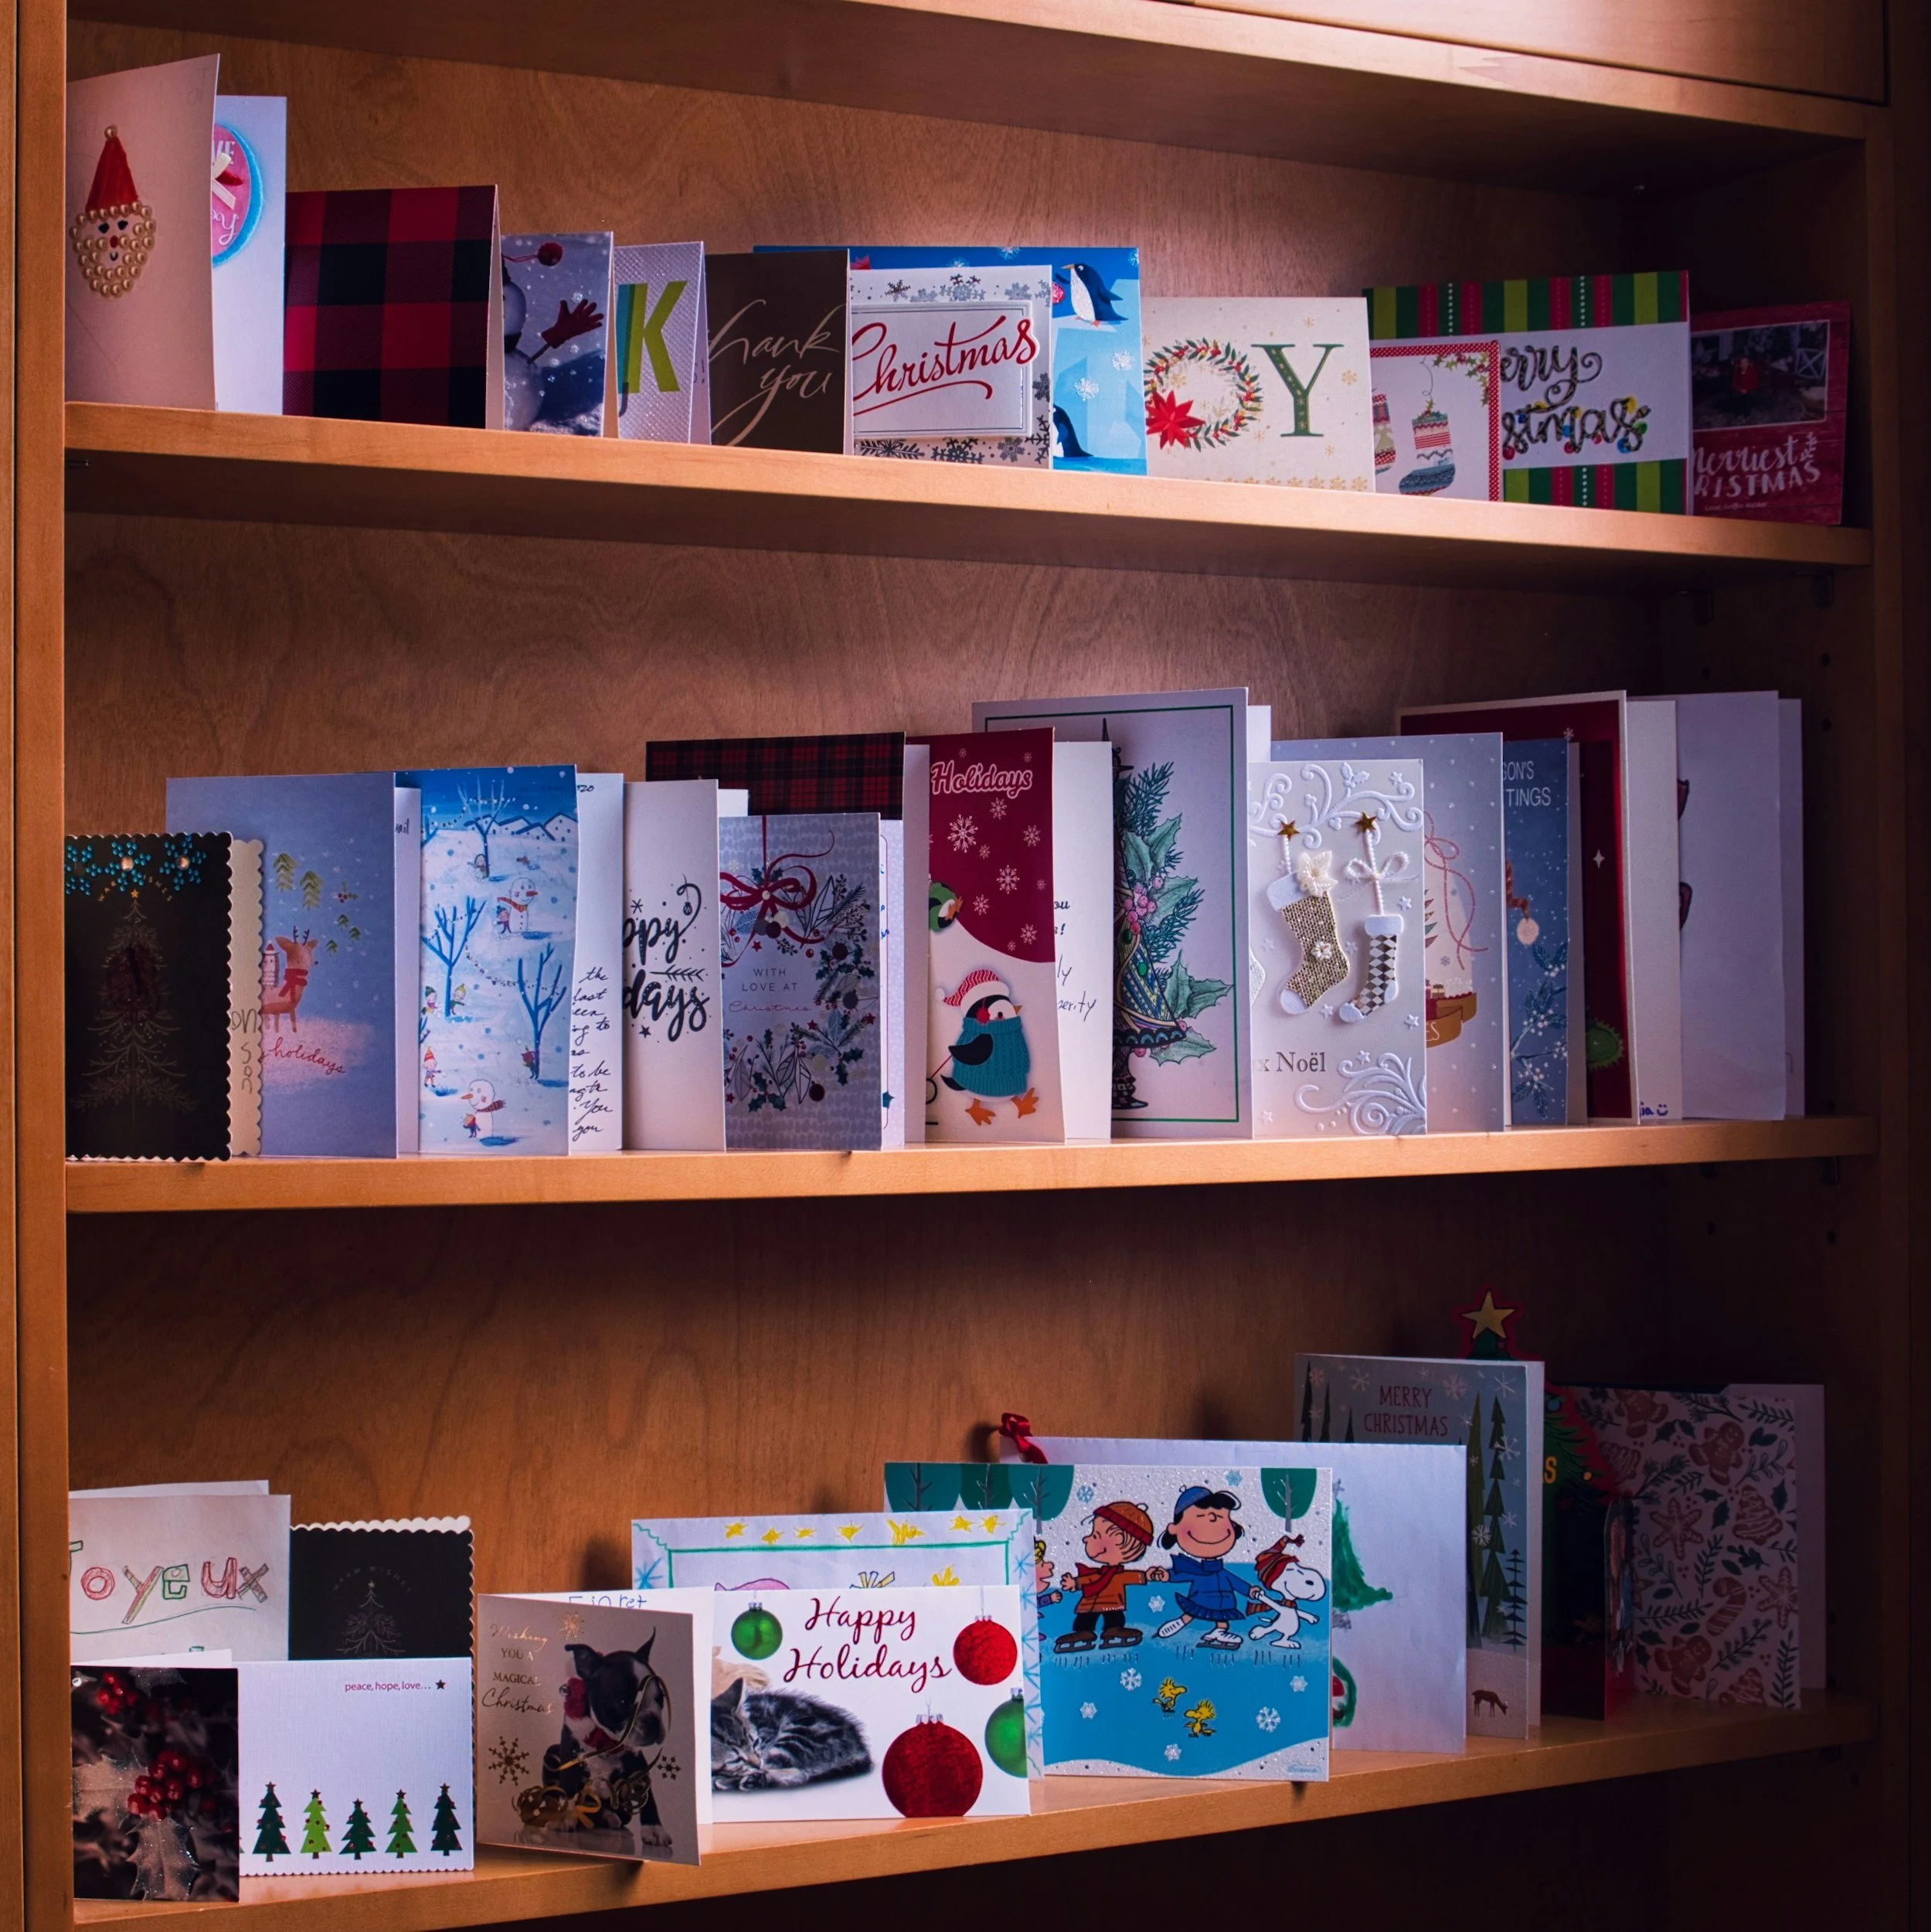
Holiday cards are so beautiful; we enjoy receiving them, opening them, reading the messages, and displaying them around the house.

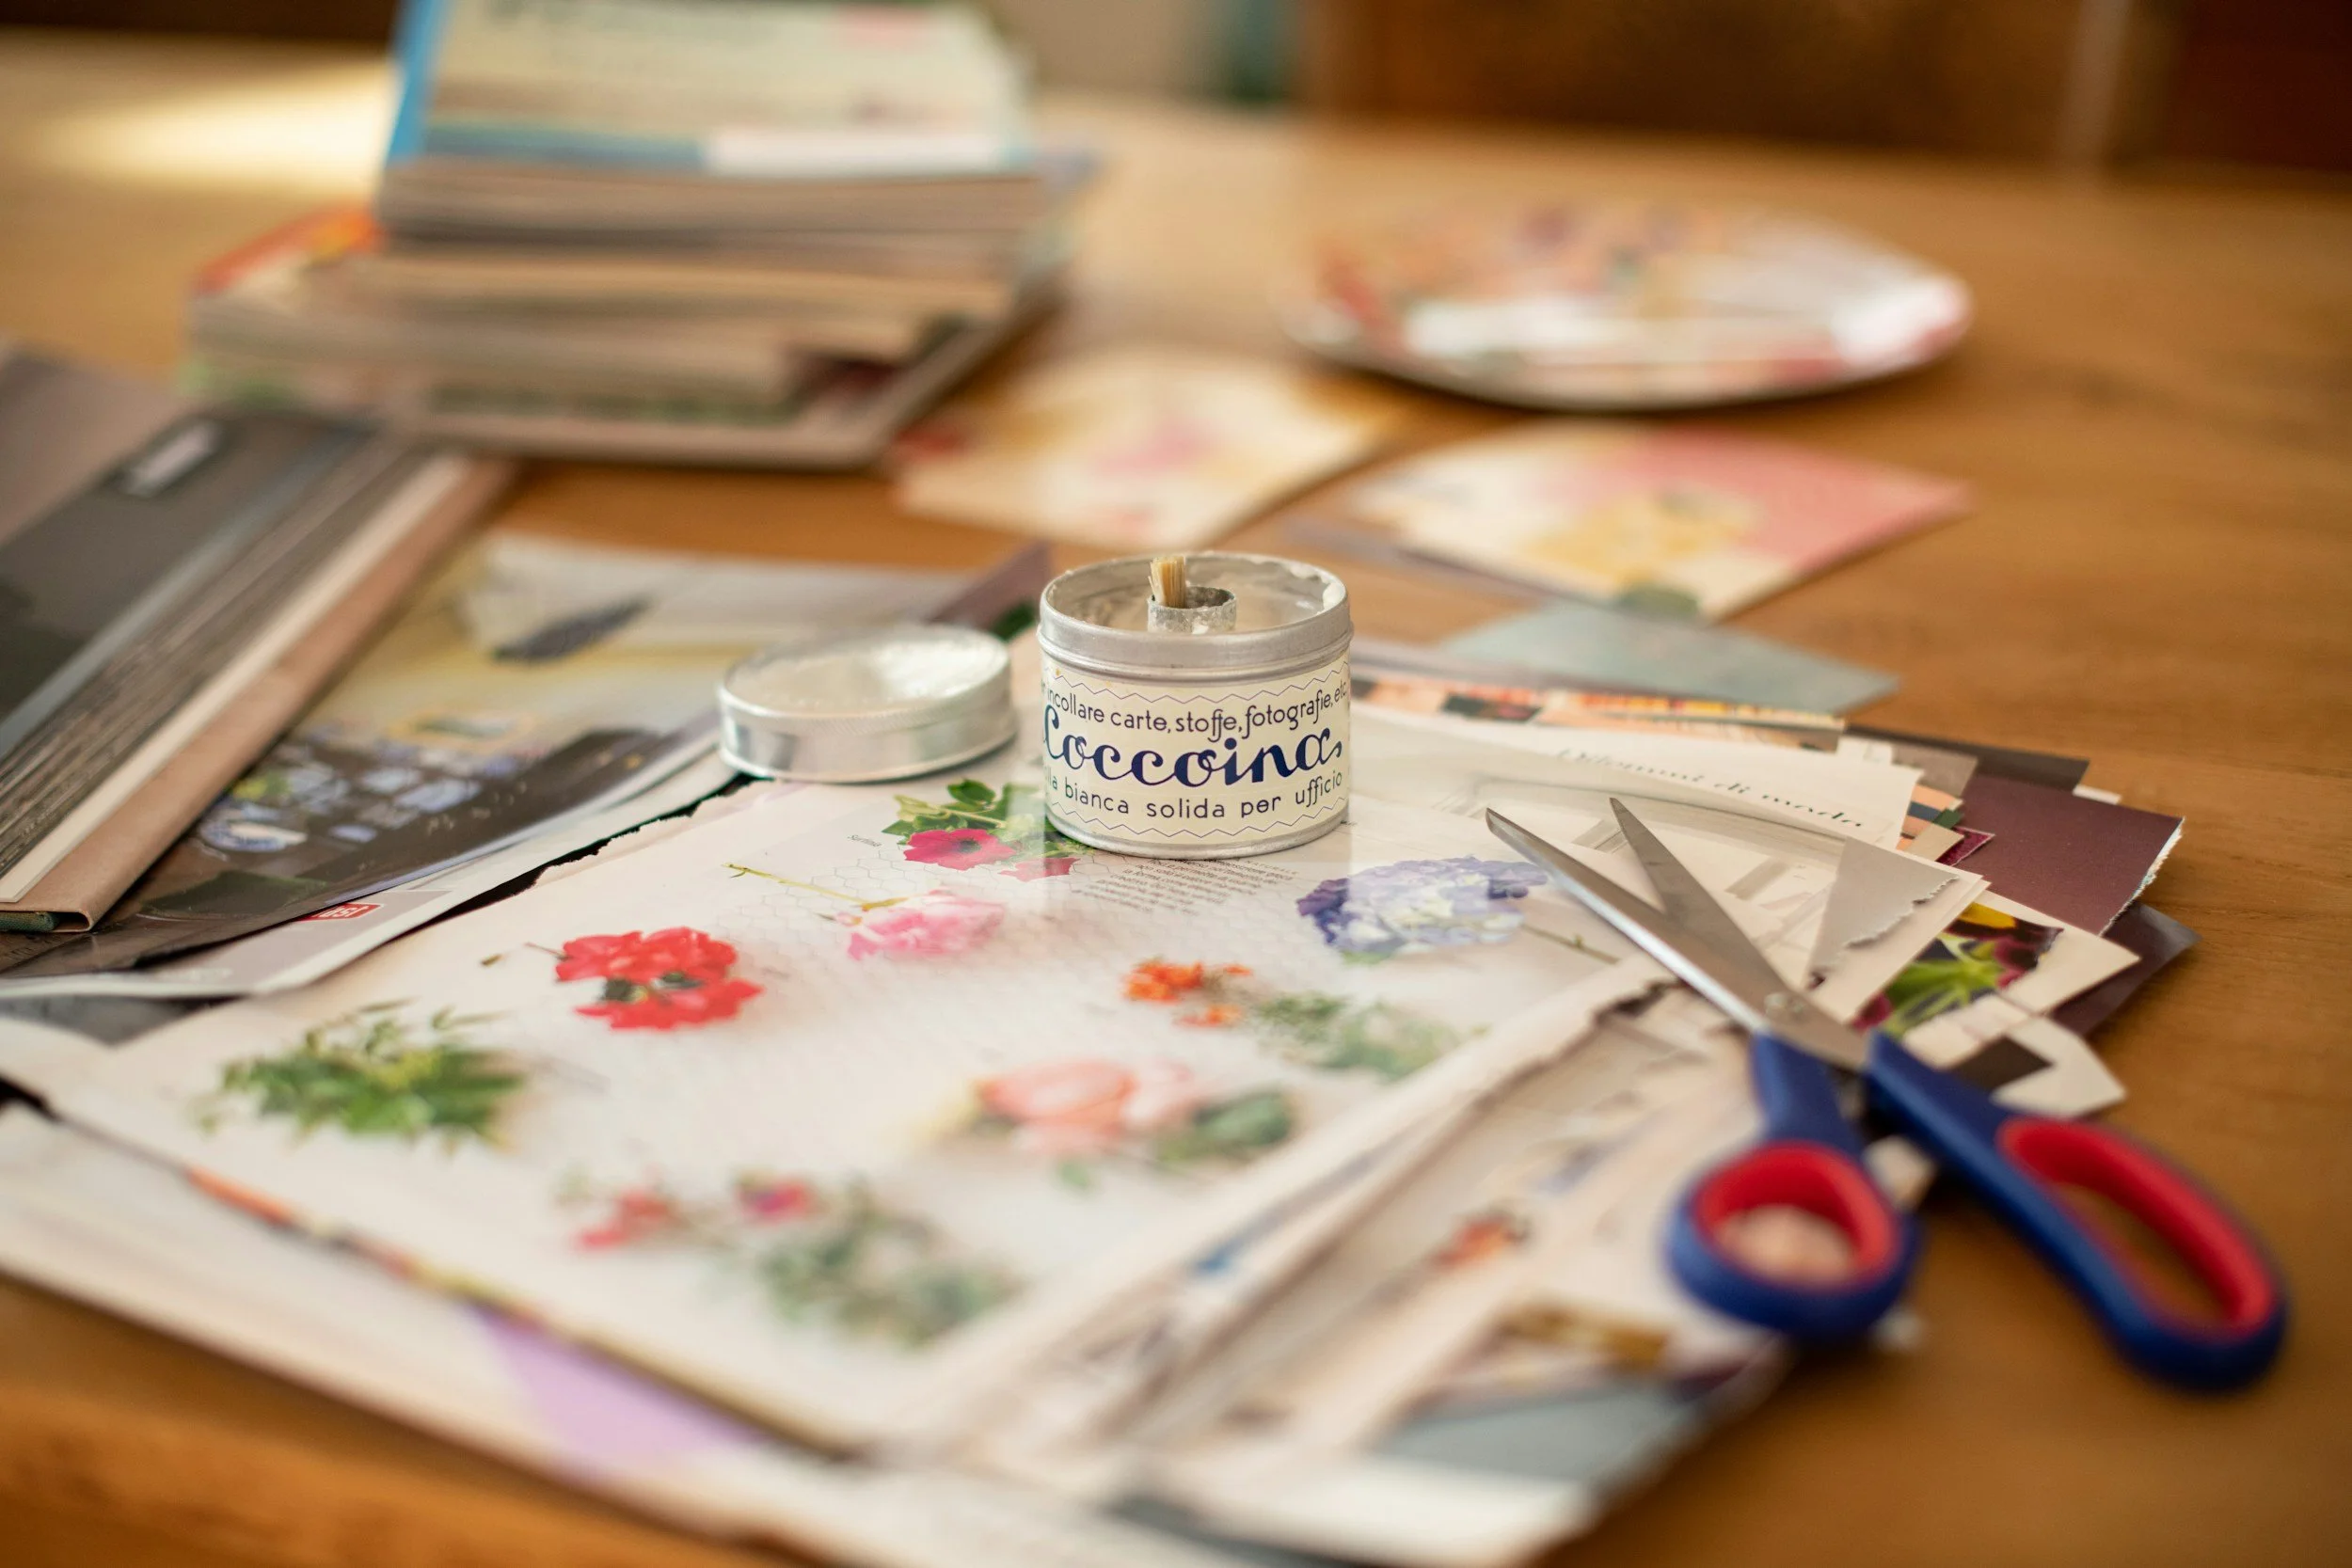
But, now the holidays are over and we have stacks of them. Should we throw them away? Should we recycle them? Let’s use them for craft projects to prepare for next year or to preserve memories.

  1. Gift Cards

Cut around a design with regular scissors or cut a small area with pinking shears. Punch a hole and add ribbon or yarn to make a tie-on. Place in a safe place, and use them next year.

  1. Memory Book

Purchase a small notebook with blank pages or a small photo album. Place small card sections in the book. Glue onto blank pages or insert in photo sleeves. Add a greeting card verse from one of your cards on each page. Share this book with family or friends. Makes a nice gift for shut-ins.

  1. Memory Box

Purchase a shadow box or picture frame. Cut around the card designs and glue in frame for a keepsake of your favorite cards.

  1. Placemats and Coasters

Purchase heavy tag board in red or green. Cut tag board to placemat or coaster size.

Arrange cards or sections of cards to cover the tag board. Glue in place. Cover with clear contact paper.

  1. Card Mosaics

Cut cards in small squares (one inch) When you have a large quantity of them, glue on Ceramic tiles, craft tray, tag board or paper to make designs. Either cover entire flat surface of item or make designs like Christmas Trees, Bells or Wreaths with the squares.

  1. Not Creative?

Donate your cards to a school or non-profit organization and let them be creative.

All of the designs are listed for Holiday cards, but may be made from other greeting cards. The possibilities are endless. How about a Memory box or book with wedding cards. Think about a book of Bridal or Baby Shower cards, Birthday cards or Anniversary cards.

Be Creative


December 2025- Snowflake Ornaments

By Brenda Schwaab

These ornaments are very easy to make. They will add extra sparkle to your tree or wherever you hang them.

Materials:

Snow Flake Ornaments (they come in various sizes, shapes and colors, so choose whatever matches or compliments your décor)

Fancy Ribbon (themed: sports, Holiday, snowman, trees, etc.)

Craft glue

Directions:

Purchase snowflakes and ribbon

Cut section of themed ribbon out

Glue to center of snowflake

Let glue dry, hang and enjoy the sparkle


Extra Notes:

Variations: Sports, Teams, Schools, snowmen, trees, Santas, etc.


(Article originally published 12/18)

November 2025 - Fall Leaf Projects

By Brenda Schwaab

The leaves are finally changing! We have waited so long this year for our beautiful fall colors. They have been so slow in coming. These craft activities use the fall colors but the leaves are silk ones. 

Go to your local craft store and purchase a package of fall colored leaves. These packages are usually oak or maple leaves in golds, yellows, oranges and browns. One pack will be enough to be creative. They cost a few dollars.We will create leaf decorated items for your Thanksgiving table and Dining Room. Other suggestions are included to make your home into a fall decorated haven. 


Materials 

-One package of silk fall leaves 

-Napkins for your Thanksgiving Dinner -Napkin Ring 

-Contrasting Napkins for utensil holder 

-Roll of strong adhesive tape 

-Disposable cups for wine or water  

-Empty toilet tissue rolls 

-One roll of 2” wired ribbon in desired color


Instructions 

Disposable Cups: 

1. Tape single leaf on front of cup 

2. Place cup on table for dinner

Napkin Ring:

1. Cut toilet tissue roll into 1 3/8 “ rounds (you may get 3 from each roll) 

2. Cover round with 2” wired ribbon folding wired edge under each side. If cardboard shows through the ribbon, wrap around twice. 

3. Tape end of ribbon to covering. 

4. Tape leaf over the tape on ring. 

5. Fill ring with dinner napkin. 

6. Place on table at each place setting

Folded Napkin with Leaf 

1. Tape leaf on front of folded dinner napkin

2. Place napkin on dinner table at each place. 


Napkin Utensil Holder 

1. Place napkin on angle in front of you. Napkin point at the top. 

2. Fold bottom up to make a pocket. 

3. Fold both sides in to finish pocket 

4. Tape in place 

5. Tape leaf onto front of pocket 

6. Place pocket on dinner table at each place setting. Insert knife, fork and spoon. 


Be sure you use a napkin large enough to make a pocket that is big enough to hold your utensils. 


Variations 

You should still have more leaves in your package. Use them to decorate your rooms. 

1. Place leaves all over your dining tablecloth to decorate table.

2. If you have a mirror in the room, tape leaves to the mirror. 

3. Tape leaves to your bread basket. 

4. Tape leaves to your kitchen cabinets. 

5. Place leaves on bathroom countertop. 

6. Add leaves to bathroom mirror 

7. Look around your house and see where else you can decorate with leaves 

8. Think about other holidays and how you can add inexpensive decorations. (Example Poinsettias for Christmas) 

Enjoy your Thanksgiving Holiday!